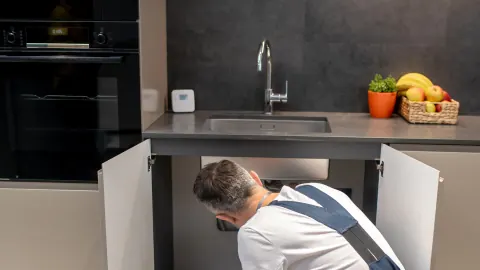
Kitchen Remodeling Timeline: Step-by-Step Process
A kitchen remodeling timeline works best as a sequence of decisions and handoffs. Instead of assigning an arbitrary week to each task, ask what must be complete before the next team can start. This process guide helps you connect design, purchasing, permits, installation, and the final walkthrough so that a finished-looking kitchen does not hide unfinished work.
Quick Answer: Kitchen Remodeling Timeline
The process is goals, measured design, agreed scope, procurement and approvals, site preparation, construction, installation, and closeout. Some preconstruction work can happen in parallel. Construction stages need a clear order based on the selected materials and any required inspections.
| Phase | What happens | Homeowner decision | Possible delay |
|---|---|---|---|
| Consultation | Define problems and priorities | Budget boundaries and must-haves | Unclear scope |
| Design and estimate | Measure and document the layout | Approve products and allowances | Repeated revisions |
| Preconstruction | Order materials and coordinate approvals | Confirm selections and access | Backorders or application revisions |
| Demolition and rough work | Open the room and complete underlying work | Approve documented changes if needed | Concealed conditions |
| Installation | Fit cabinets, surfaces, and fixtures | Confirm fabrication details | Missing parts or unmet prerequisites |
| Closeout | Finish inspections and the punch list | Review documents and operation | Unresolved corrections |
For a discussion of duration and disruption, see how long a kitchen remodel takes. The table here is a process map, not a promised calendar.
Step 1: Define Goals and Budget
Write down what does not work during an ordinary day. Perhaps groceries have no convenient landing space, the dishwasher blocks a walkway, or your best preparation surface is also the household charging station. Specific problems are easier to solve than a request for a more modern kitchen.
Divide the plan into must-haves, useful improvements, and optional upgrades. Give each major category a place in the budget: cabinetry, counters, appliances, flooring, lighting, utility work, installation, and related finishes. Keep a reserve appropriate to the uncertainty of the existing conditions instead of committing every available dollar to visible materials.
Agree on a decision rule for tradeoffs. If storage is the priority, a decorative feature should not quietly consume the amount needed for the cabinet arrangement that solves the problem. Document what is excluded as carefully as what is included.
Step 2: Design and Planning
Measurements should inform the layout before final orders. Review the room in plan and elevation, including openings, appliance clearances, cabinet doors, drawers, and the way people pass through the space. A 3D view can make proportions easier to understand, while dimensioned drawings and product specifications guide execution.
Confirm appliance models, sink and faucet configuration, hood requirements, cabinet accessories, countertop edges, and lighting locations. A substitute that looks similar can still change a cutout, electrical requirement, or opening. Ask who approves substitutions and how they will be documented.
Review the written scope alongside the drawings. In Massachusetts, the state's sample home improvement contract identifies scope, price, payment arrangements, and start and completion scheduling as contract components. Make the design and contract describe the same project before ordering begins.

Step 3: Pre-Construction Preparation
Turn the approved plan into an ordering and readiness list. Track the expected arrival of cabinets, appliances, fixtures, and installation accessories, together with who will receive them. Clarify how shortages or damaged goods will be handled. Separate selections that are genuinely available from samples that still require a production order.
Confirm which permits and inspections apply with the local department and responsible professionals. For example, Hudson's Building Department coordinates building and trade permitting and inspection matters. The actual process follows the property's municipality and project scope.
Before demolition, agree on floor protection, dust separation, debris removal, working hours, deliveries, and access. Pack everything from the kitchen, label the containers, and arrange a temporary meal area. Identify children, pets, work-from-home needs, and any dates that affect access so they can be considered in the schedule.
Step 4: Construction and Installation
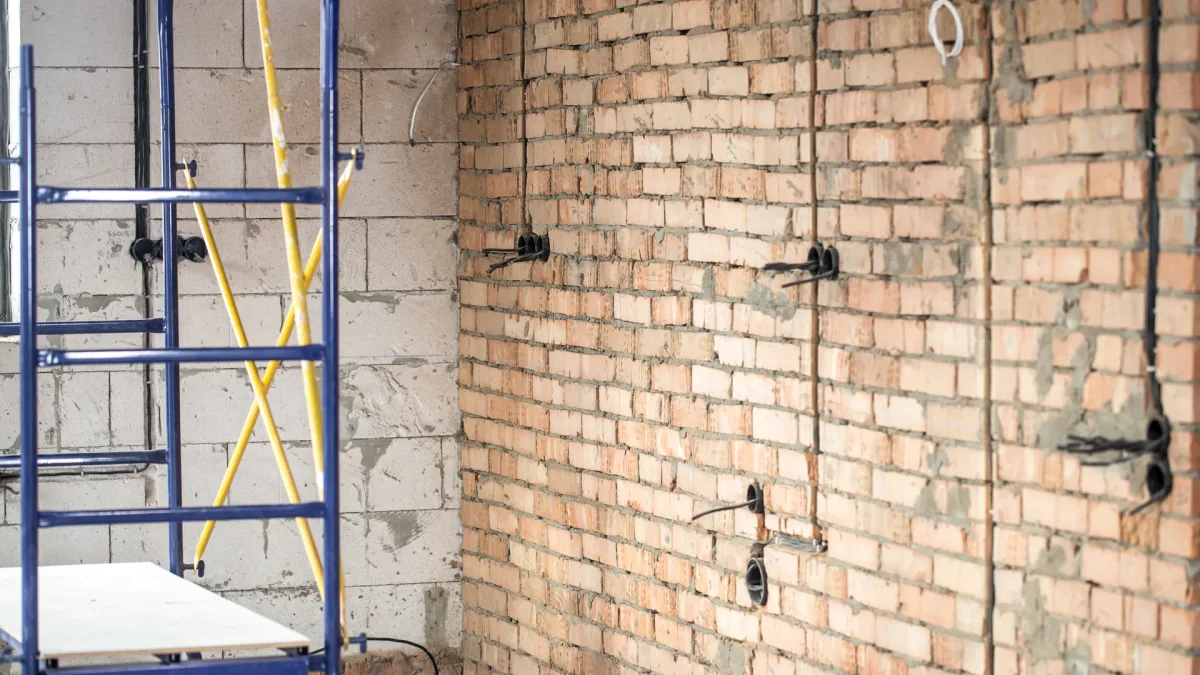
Demolition reveals the surfaces and systems that the new work depends on. The contractor should document unexpected conditions and obtain approval for changes before proceeding with work outside the agreement. Framing and rough plumbing, electrical, or ventilation work then lead to the applicable inspections and surface preparation.
Cabinets, flooring, and countertop work must be sequenced for the products selected. Ask the flooring installer whether the specified system goes before or after fixed cabinets. There is no useful universal rule that overrides a manufacturer's installation requirements.
For countertops, distinguish choosing and reserving material from final measurement and fabrication. Cambria advises having the supporting cabinets installed and the relevant fixtures available. Confirm the fabricator's complete readiness list, including appliance information and seam decisions.
The remaining tasks include connections, backsplash where specified, lighting, trim, hardware, paint touchups, and cleaning. An attractive photograph does not confirm that every fixture operates or every required inspection is complete.
Final Walkthrough and Project Coordination
Prepare one written punch list with locations, agreed actions, and responsibility for follow-up. Open drawers and doors, inspect finish transitions, and ask the contractor to demonstrate installed equipment. Review care instructions and distinguish manufacturer product coverage from any written installation warranty.
Request the applicable permit closeout records, product information, final scope adjustments, and contact details for service. Discuss remaining items under the contract rather than relying on a verbal promise to return sometime.
When comparing kitchen remodeling options, ask who connects design decisions to ordering and daily site work. Contact Custom Kitchen & Bathroom Remodeling with your priorities and room details to begin planning those steps.
Frequently asked questions
What is the first step in a kitchen remodel?
Define the functional problems, budget boundaries, and priorities, then arrange measurements and an existing-condition review. Buying cabinets before confirming the layout can commit the project to dimensions that do not solve the original problem.
Should cabinets or flooring be installed first?
The correct order depends on the flooring product, installation method, cabinet system, and room conditions. Ask the contractor to coordinate the flooring manufacturer’s requirements with cabinet installation and appliance clearances before either stage starts.
When should countertops be measured?
Final measurement should occur when the fabricator’s prerequisites are met, typically including installed supporting cabinets and confirmed sink, faucet, and appliance details. Material selection can happen earlier. Ask what changes are prohibited once the template is approved.
How do I prepare for installation day?
Clear the agreed access route and work area, empty affected cabinets, protect belongings as arranged, and keep children and pets away from construction. Confirm deliveries, parking, site access, and who can promptly approve any documented questions.